Zoom In - Kiosk Touch Screens
Navigation:
MoxyTouch > MoxyTouch Single Screen > Zoom In (on a specific screen)
Zoom In allows you to view and change what is being displayed on a specific screen. This section is for screens with type ‘Kiosk’.
Example kiosk (preview):

After selecting Zoom In, you will be able to view and change what is being displayed on the screen.
The main sections are as explained:
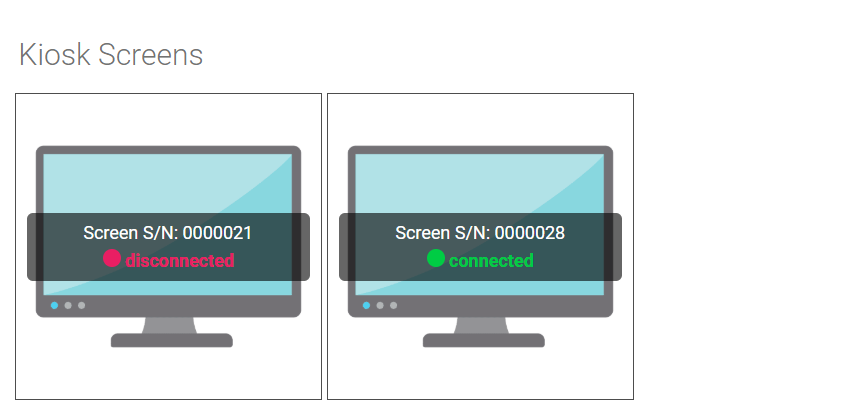
Information Section
Contains information about this particular unit.

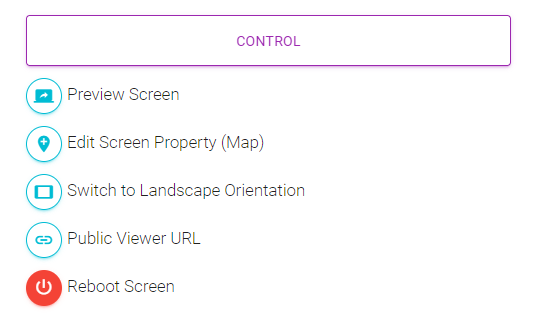
Control Section
Provides administrative functions, as follows:
- Preview Screen: Previews what is being displayed on the screen from your browser.
- Edit Screen Property: Edit screen name, type, location and city, and toggle date visibility. Also allows you to edit the map location (see Screen Map Location section of this manual)
- Switch to Portrait/Landscape Orientation: Toggles the orientation of the screen.
- Public Viewer URL: Generates a temporary URL that can be sent to anybody, which previews what is being displayed on the screen. The link will last for up to 10 days, and can be turned off at any time.
- Reboot Screen: Restarts the Moxy screen unit attached to the screen.
MoxyTouch Group section
Refer to the ‘MoxyTouch Group’ section of this manual.
Select Section
This section lets you choose which casts/content to display on the screen.

The selection panel shows your casts, and may select any number of them to display on your screen:
- The weather forecast
- Widgets, some examples include:
- Consumable QR Widget
- Resource QR Widget
- Dashboard Widget
- Calendars
- Dashboards
- Analytics
- Image Carousel Casts
- Files from your doc containers, and files from shared doc containers
- Files from your image containers, and files from shared image containers
- Files from your video containers, and files from shared video containers
- Files from your web containers, and files from shared web containers
Note that unlike a presentation screen, the kiosk screen can display widgets from the Widget Container.
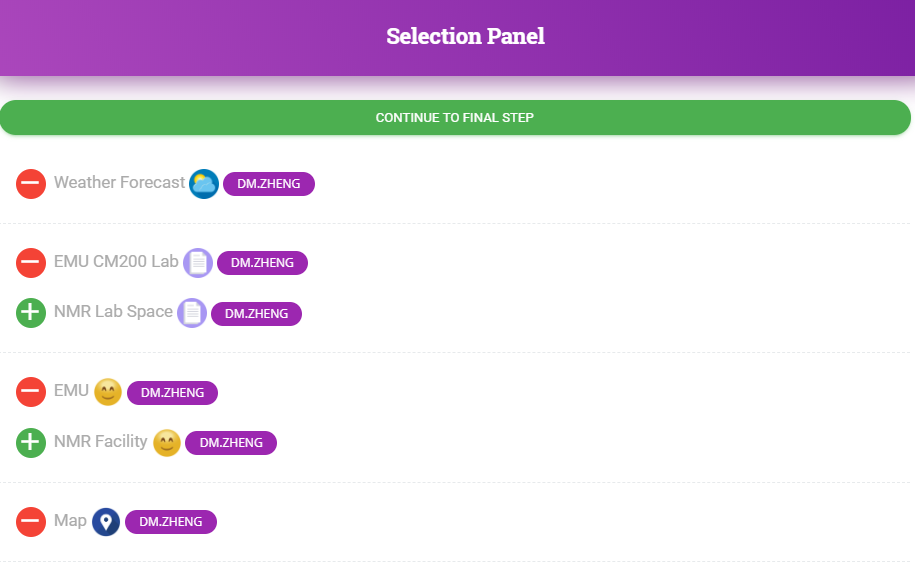
Files that you own are marked with your username in purple. Files that other users have shared with you are marked with their username in grey.
Once finished, click "Continue to Final Step"
Final Step section
This section configures the kiosk. You can select different options such as color
theme, and you can provide body text for the kiosk.
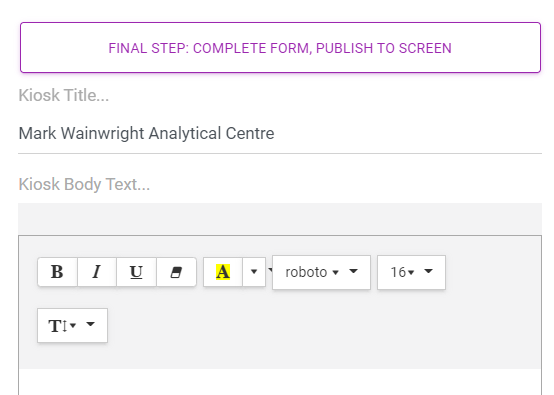
Below the configuration options are the titles given to each button. Each button on the kiosk page comes from what was chosen in the ‘Select’ section to the left. When finished, click ‘Publish to Screen’
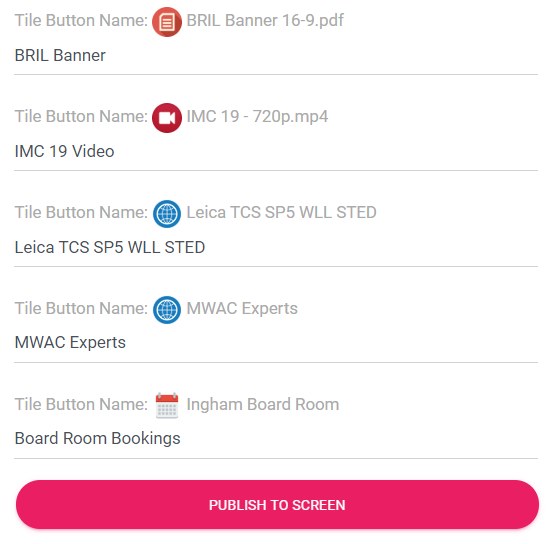
Ensure the correct content is displayed by going to Preview Screen and seeing the results